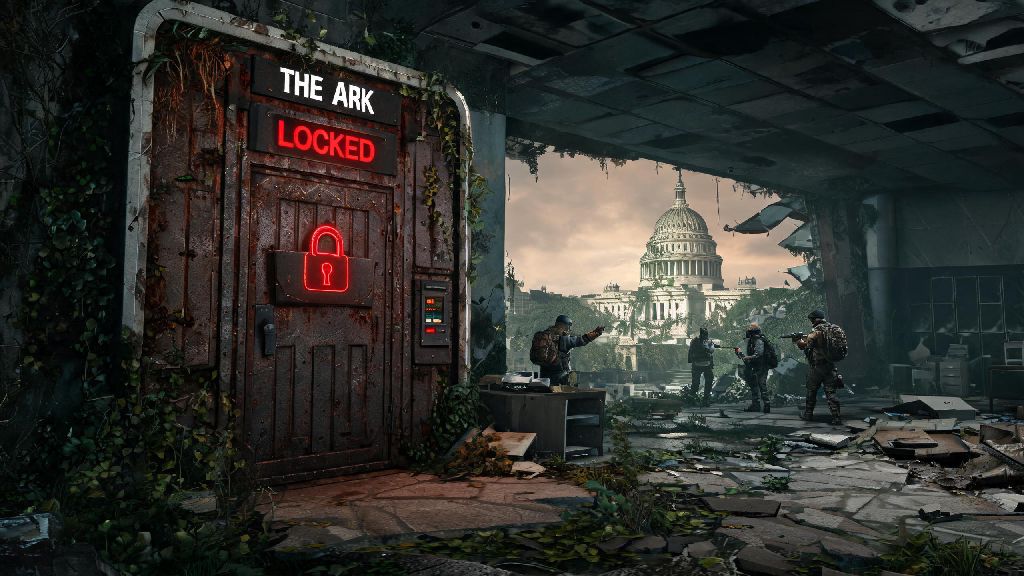
If you’ve spent any time roaming post-apocalyptic Washington D.C. in The Division 2, you’ve almost certainly heard other players rave about the rare gear, exotic drops, and unique missions locked behind the Ark’s sealed doors. For new and returning players alike, figuring out how to get into the Ark in Division 2 can feel frustratingly vague if you don’t know exactly which prerequisites you need to check off first. I’ve run this unlock path on three different accounts over the last few years, and I’ve sorted out all the hidden hoops you need to jump through to skip the annoying roadblocks and get inside fast.
Prerequisites You Must Complete to Get Into the Ark in Division 2
Before you even see the quest prompt to unlock the Ark, there are a few non-negotiable boxes you have to tick first. A lot of players skip checking these and waste hours running around the map looking for a quest that won’t spawn until you meet the minimum requirements.
You must own the Warlords of New York expansion to access the Ark, as it is tied directly to the post-campaign endgame content added in that update. If you only own the base game, you won’t be able to access the Castle Settlement or the Ark at all, no matter what level your character is.
Your character must be at least level 40 with a Gear Score of 500 or higher to trigger the Ark unlock quest. I made this mistake on my first alt account, I rushed to the Castle Settlement at level 38 and spent 20 minutes running around looking for the quest prompt before I realized I was too low level to trigger it. You can easily hit these benchmarks by finishing the Warlords of New York main campaign and doing a handful of side missions before heading to the Castle.
You also need to fully rebuild the Castle Settlement to 100% functionality. This requires finishing all the small side missions tied to the Castle that pop up right after you beat the Warlords of New York final boss. The quests only take 20 to 30 minutes total to complete, so you can knock them out right after you finish the main story.
Step-by-Step Walkthrough to Unlock Ark Access
Once you’ve checked all the prerequisites off your list, the actual unlock process is fast and straightforward, even if you’re playing solo. Just follow these three simple steps to get permanent access:
The Black Tusk patrols are marked with bright yellow icons on your map, so you don’t have to wander aimlessly looking for them across the zone. The named enemy carrying the access fob will always spawn near the north entrance of the Ark, so you can head straight there after you finish the patrols to save time.
If the patrols don’t spawn right away, fast travel away from the Castle and come back to reset the open world instances. This is a common bug that pops up if you’ve been in the Castle area for a long time without reloading the instance, and the fast travel reset fixes it 99% of the time. The scan objectives take 10 seconds each, so make sure to clear nearby enemies first before starting the scan, otherwise you’ll get interrupted and have to start over.
Common Mistakes That Block Access to the Ark
Even if you follow all the steps above, there are a few easily avoidable mistakes that can leave you stuck staring at a locked Ark door for hours. Most of these issues are easy to fix, and you won’t have to wonder how to get into the Ark in Division 2 ever again once you get the unlock sorted.
First, many players forget to fully turn in the final quest step to Odessa before trying to enter the Ark. The access fob you pick up from the named enemy is only temporary for the quest, and it won’t work for permanent entry until you hand it back to Odessa to get your official access. If you get an “access denied” prompt when you try to enter, double check that you’ve turned in the final quest step to Odessa first, this is the most common issue players run into.
Second, some players try to enter the Ark with a group that already has access before they’ve completed their own unlock quest. You can’t piggyback on another player’s access to get into the Ark permanently, even if they invite you to a group. You have to complete the full quest line on your own character to get permanent entry, no exceptions.
Third, cross-platform players sometimes run into sync issues where the quest progress doesn’t update right away. If that happens, log out of your account completely and log back in, that almost always fixes the sync error. I ran into this issue when playing with a friend on console last year, and a quick log out got both of us access within two minutes.
What to Expect Once You’re Inside the Ark
The Ark isn’t just a random endgame location to check off your list, it’s one of the most rewarding spots in the entire game for farming high-tier gear and endgame content. Once you get inside, you’ll find a wide range of activities and rewards you can’t access anywhere else in the game.
The Ark’s exclusive vendor sells gear rolls you can’t find anywhere else in the game, including perfect attribute mods for endgame builds. The vendor refreshes their stock every weekly reset, so it’s worth popping in every Tuesday to see what new items they have available. I’ve gotten perfect rolled weapon mods from this vendor that I still use on all my endgame builds, so don’t sleep on checking their stock regularly.
You’ll also find access to the Ark’s exclusive weekly missions and incursion content, which drop exotic weapons and high-end gear sets at a much higher rate than regular open world missions. You can team up with up to 7 other players for these activities, so it’s a great spot to meet other endgame players if you’re looking for a regular group to run content with. I’ve gotten three exotic weapons from the Ark’s weekly reward caches over the last six months, including a perfectly rolled Regulus that I still use for my solo PVE build.
You don’t need a super high Gear Score to walk around the Ark and browse the vendor either, so even if you just hit level 40, you can go inside and see what gear is available to work towards as you level up your Gear Score. There are also a handful of hidden collectibles inside the Ark that count towards your overall Washington D.C. completion percentage, so make sure to explore the full space when you first go in.
Figuring out how to get into the Ark in Division 2 doesn’t have to be the confusing, time-consuming process many new players make it out to be. As long as you hit the basic prerequisites, follow the short quest line, and avoid the common missteps we outlined above, you’ll be able to get inside and start farming for top-tier gear in under an hour. The Ark is one of the most rewarding endgame locations in the entire game, so it’s well worth taking the 30 to 45 minutes to unlock it the first time you hit level 40. If you run into any snags during the process, drop a comment below and I’ll help you work through it.