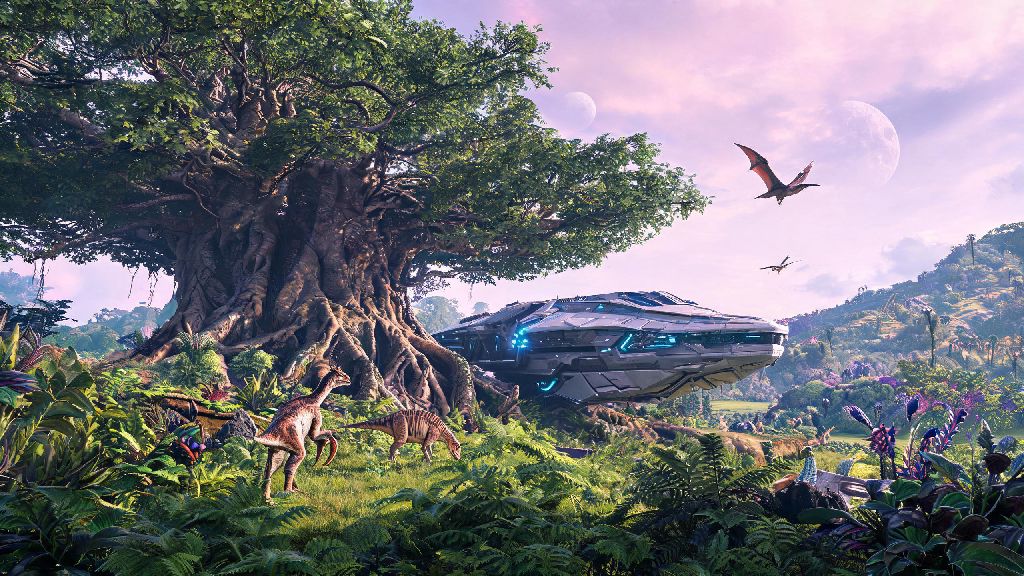
If you’re a long-time Ark: Survival Evolved fan looking to jump into the wild, futuristic open world of the final Genesis expansion, you’ve probably been searching for clear, no-fluff info on how to get ark genesis part 2 without running into common purchase or installation headaches. This guide covers every official method to access the DLC across all supported platforms, plus fixes for the most frequent errors players hit after buying it. We’ll also walk you through what you need to do to spawn into the new map the second your installation finishes.
Official Methods to Get Ark Genesis Part 2 Across All Platforms
The first thing to note is that Genesis Part 2 is a paid DLC expansion, so you won’t be able to access it for free unless it’s offered as part of a limited-time platform promotion. For Steam users, the easiest way to grab it is to head to the official Ark: Survival Evolved store page on Steam, scroll to the DLC section, select Genesis Part 2, add it to your cart, and complete purchase. If you already own the Genesis Season Pass, you don’t need to pay extra—Part 2 will already be marked as owned in your library.
For PlayStation and Xbox console players, search for Ark: Survival Evolved on your platform’s store, navigate to the add-ons section, and select Genesis Part 2 to purchase. If you have an active PS Plus or Xbox Game Pass Ultimate subscription, check for active discounts first, as platform holders often run 20-30% off sales for Ark DLC for members. You must own the base Ark: Survival Evolved game to install and play Genesis Part 2, even if you purchase the DLC as a standalone add-on.
You can also buy physical copies of the Genesis Part 2 DLC from major game retailers, but you’ll still need to redeem the included code on your platform’s store to download the full digital files. Physical copies are a good option if you prefer to collect physical media or want to gift the DLC to a friend who plays Ark.
Pre-Installation Checks to Avoid Common Errors
Before you start downloading the DLC, take 5 minutes to run through these quick checks to avoid wasted time and installation failures. First, confirm you have at least 75GB of free storage space on your drive—Genesis Part 2 is one of the largest Ark DLCs ever released, and you’ll need extra space for temporary installation files. We recommend installing it on an SSD if you have one, as it cuts load times by up to 70% compared to a standard HDD.
Next, make sure your base Ark: Survival Evolved game is updated to the latest official version. If you’re running an outdated build of the base game, it won’t recognize the new DLC even after you install it, and you’ll get a “map not found” error when you try to launch. For Steam users, right click Ark in your library, select properties, and head to the updates tab to make sure auto-updates are enabled.
Many players like to pass the time while large game files download by playing low-stakes, quick casual games that don't take much focus. Casual players who need a fun distraction while waiting for the 75GB install to finish often play Love Rummy, a fast-paced card game that fits perfectly into 10 to 15 minute gaps between download progress checks. Never download Genesis Part 2 from unapproved third-party sites, as these files often contain malware or will not connect to official Ark servers.
Finally, confirm that you’re signed into the same platform account you used to buy the base Ark game. Cross-region purchases or accounts that are not linked correctly will often block access to DLC even after you’ve paid for it, so double check your account details before you start the download process.
How to Access Genesis Part 2 After Installation
Once the download and installation finishes, close your game client completely and restart it to make sure the new DLC is recognized. When you load back into the main menu, select “Host/Local” if you want to play single player or host a private lobby for your friends. Scroll through the available map list until you see Genesis Part 2, adjust your server settings to your preference (you can turn off friendly fire, adjust taming speed, and more for private lobbies), and hit launch to spawn into the map.
If you want to play on public multiplayer servers, head to the server browser from the main menu, use the map filter to only show Genesis Part 2 servers, and pick one that matches your playstyle. You can filter for PvE, PvP, small tribes, or modded servers depending on what you’re looking for. If you don’t see the Genesis Part 2 map in your list at all, try these quick fixes:
If you’re playing on a private server, confirm the server admin has added Genesis Part 2 support before trying to join. Many smaller private servers only run older maps, so you won’t be able to access the new DLC unless the admin has installed it on the server side first. Most server owners list the maps they support in their server description, so check that before you try to connect.
First-Time Tips for New Genesis Part 2 Players
When you first spawn into Genesis Part 2, you’ll start in the southern section of the Eden Ring, a lush, low-risk biome perfect for new players to get their bearings. Don’t wander too far from your spawn point for the first hour—focus on crafting a stone pick, stone hatchet, and a set of cloth armor first, as there are small hostile creatures like compys and dilophosaurs that will attack new players with no gear.
The map is split into two main biomes: the Eden Ring, which is safe for beginner to mid-level players, and the Void, a harsh, high-risk biome full of endgame creatures like the Voidwyrm and Rockwell Prime that will one-shot players in basic gear. Don’t head into the Void until you have at least metal armor, a good ranged weapon, and a fast flying mount like a Tapejara or Argentavis.
Genesis Part 2 has a new mission system that rewards players with rare items, Tek blueprints, and experience points for completing specific tasks. Always carry a portable parachute when exploring the floating islands in the Eden ring, as fall damage is even higher on Genesis Part 2 than other Ark maps. There are lots of floating platforms and high ledges across the map, and a single misstep can cost you all your gear if you don’t have a parachute handy.
Missions for beginner players reward Tek grenade launchers and flight suits that make early exploration far easier, so don’t put them off for later. Even the lowest difficulty missions give useful rewards that will help you progress much faster than just farming resources on your own. If you’re playing with a tribe, split up to complete different missions at the same time to unlock Tek gear even faster.
Whether you’re playing solo or with a tribe, following these steps will make the process of how to get ark genesis part 2 smooth and error-free, so you can spend less time troubleshooting and more time taming new creatures, exploring the map, and taking on endgame bosses. If you run into any rare issues not covered here, you can find official support on the Ark community forums, where other players and devs share fixes for edge case platform-specific problems.