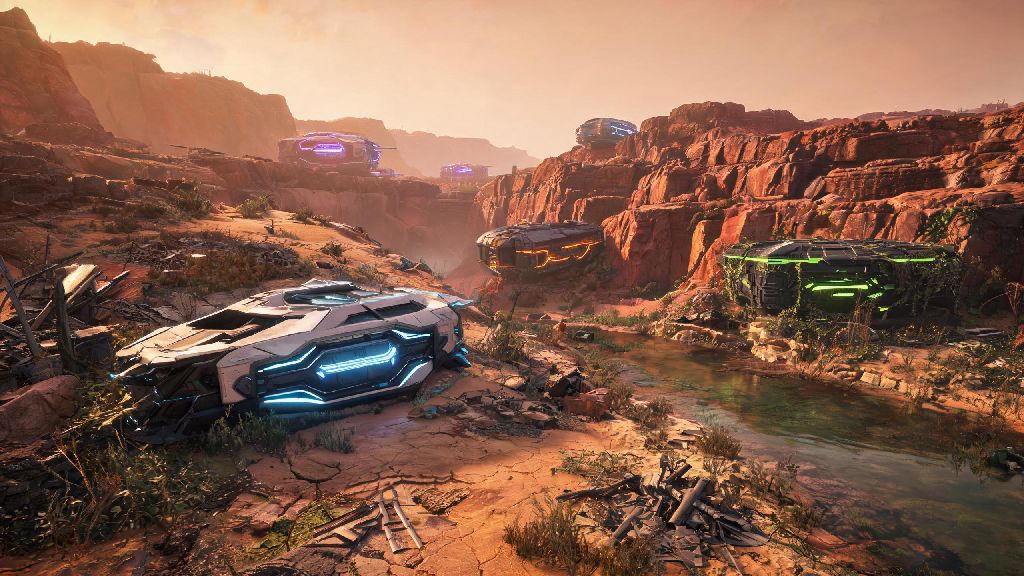
Rage 2’s post-apocalyptic Wasteland is packed with hidden secrets, but few rewards are as game-changing as the arks scattered across its deserts, canyons, and swamps. These old pre-calamity bunkers hold powerful Nanotrite abilities, permanent stat boosts, and rare loot that can turn even the most underpowered Ranger into a walking wrecking ball. If you’re tired of stumbling on arks by chance or missing half of them on your playthrough, a map of Rage 2 with all arks takes all the guesswork out of the hunt. I’ve logged over 120 hours across three full playthroughs of the game, and I’ve tested every shared ark map to cut out fake spots and highlight the most efficient routes to grab every unlock.
What You Unlock From Tracking Every Ark on a Map of Rage 2 With All Arks
A lot of new players assume arks only give fancy combat moves, but they offer far more value than that. Each ark you unlock gives you one exclusive Nanotrite ability, one core upgrade point to boost your health, overdrive, or weapon damage, and 1,000 XP to level up fast. You don’t have to grind side missions for hours to get stronger when you can hit three arks in 20 minutes and walk away with three huge power spikes.
The best abilities in the game are exclusively locked behind arks, too. Shatter lets you blow through heavy enemy shields in two hits or less, which is a lifesaver when you run into armored Goon Squads or shielded Authority soldiers. Vortex pulls groups of enemies into a single spot so you can take them out with one rocket or shotgun blast, cutting crowd control time in half. Defibrillation lets you self-revive once per fight without using a single consumable, which is the only reason I beat the final boss on my first hard mode run.
You don’t have to grab every ark to beat the main story, but skipping even three or four will leave you stuck fighting harder than you need to. The full ark map makes sure you don’t miss the most powerful upgrades before you hit the tougher mid and late-game missions.
Key Regions to Prioritize When Using Your Full Ark Map
Arks aren’t spread evenly across the Wasteland, so you don’t have to wander the entire map right out of the starting gate. Most of the early-game, low-enemy-level arks are clustered in the southern half of the map, so you can grab all of them in your first two hours of play without running into enemies that can one-shot you. The northern arks have higher-level enemies and better late-game abilities, so save those for when you hit level 10 or higher.
If you’re just starting out, these three arks should be your first stops before you touch any main story missions:
You can hit all three of these spots in under 30 minutes if you follow the ark map, and you’ll be way more prepared for the first main story boss than players who skip them. I made the mistake of jumping straight into the story on my first playthrough, and I spent 45 minutes dying to the first boss before I went back to grab Shatter and finished the fight in two minutes flat.
Common Mistakes to Avoid When Hunting for Arks
Even with a full ark map, a lot of players make avoidable mistakes that slow down their hunt or make them miss out on full rewards. First, don’t assume all arks will pop up on your in-game map automatically. Most arks are unmarked until you get within 200 meters of them, so the external full map fills in those gaps so you don’t wander past a hidden ark without noticing. Ark locations never change across playthroughs, so the same map will work for every new run you start.
Second, don’t try to run past the guard camps outside most arks. A lot of players think they can sprint past the mutants or bandits guarding the entrance, but those enemies drop the rare tech parts you need to activate the ark console. If you run past them, you’ll get to the door and realize you don’t have the parts to open it, and you’ll have to backtrack to kill the guards anyway. You’ll also get extra ammo and XP from clearing the camp, so it’s worth the extra two minutes.
Third, don’t grab the ability and leave the ark immediately. Every ark has a data log next to the ability console that gives you 500 extra XP and unlocks a lore entry that gives you a 10% discount at the nearest trading post. I missed 7 of these logs on my first playthrough, and I wasted thousands of extra credits on ammo and upgrades that I could have gotten for cheaper if I’d taken 10 extra seconds to interact with the log.
How to Use Your Ark Map to Optimize Your Playthrough
The biggest benefit of a full ark map is that it lets you plan your route to cut down on fast travel time and get the most rewards for your effort. Instead of hopping from one side of the map to the other to grab random arks, plan a route that goes from the lowest-level regions to the highest, so you never run into enemies you can’t beat. You can also pair your ark runs with world event clears, like mutant nest attacks or convoy ambushes, to get extra loot and XP along the way without wasting gas driving back and forth.
If you’re doing a 100% completion run, mark the arks you’ve already unlocked on your map as you go so you don’t accidentally revisit spots you’ve already cleared. I like to group arks by region, clearing all 7 arks in Twisting Canyons first, then moving to Sekreto Wetlands, then Broken Tract, then the northern Wilds last. That route cuts my total ark hunt time down to around two hours, compared to the six hours it took me on my first unguided playthrough.
If you’re playing on hard mode, prioritize arks that give you defensive upgrades first, like Barrier and Defibrillation, before you grab offensive abilities. You’ll take way more damage on hard mode, so those defensive upgrades will keep you alive far longer than a stronger attack will. You can reset your ability points at any time at trading posts, so don’t stress about how you spend your upgrade points as you unlock new arks.
At the end of the day, a map of Rage 2 with all arks isn’t just for completionists who want to tick every box on their collectible list. It’s for any player who wants to get the most out of Rage 2’s chaotic, fast-paced combat without grinding for hours for upgrades. You don’t have to grab every ark in one sitting, either—you can pick them up as you explore the Wasteland, follow main story missions, or clear side content. No matter how you play, having the full list of ark locations will make your time in the Wasteland way more fun, and way less frustrating.